Six Simple Ways to Add Flowers to Your Photography Portraits
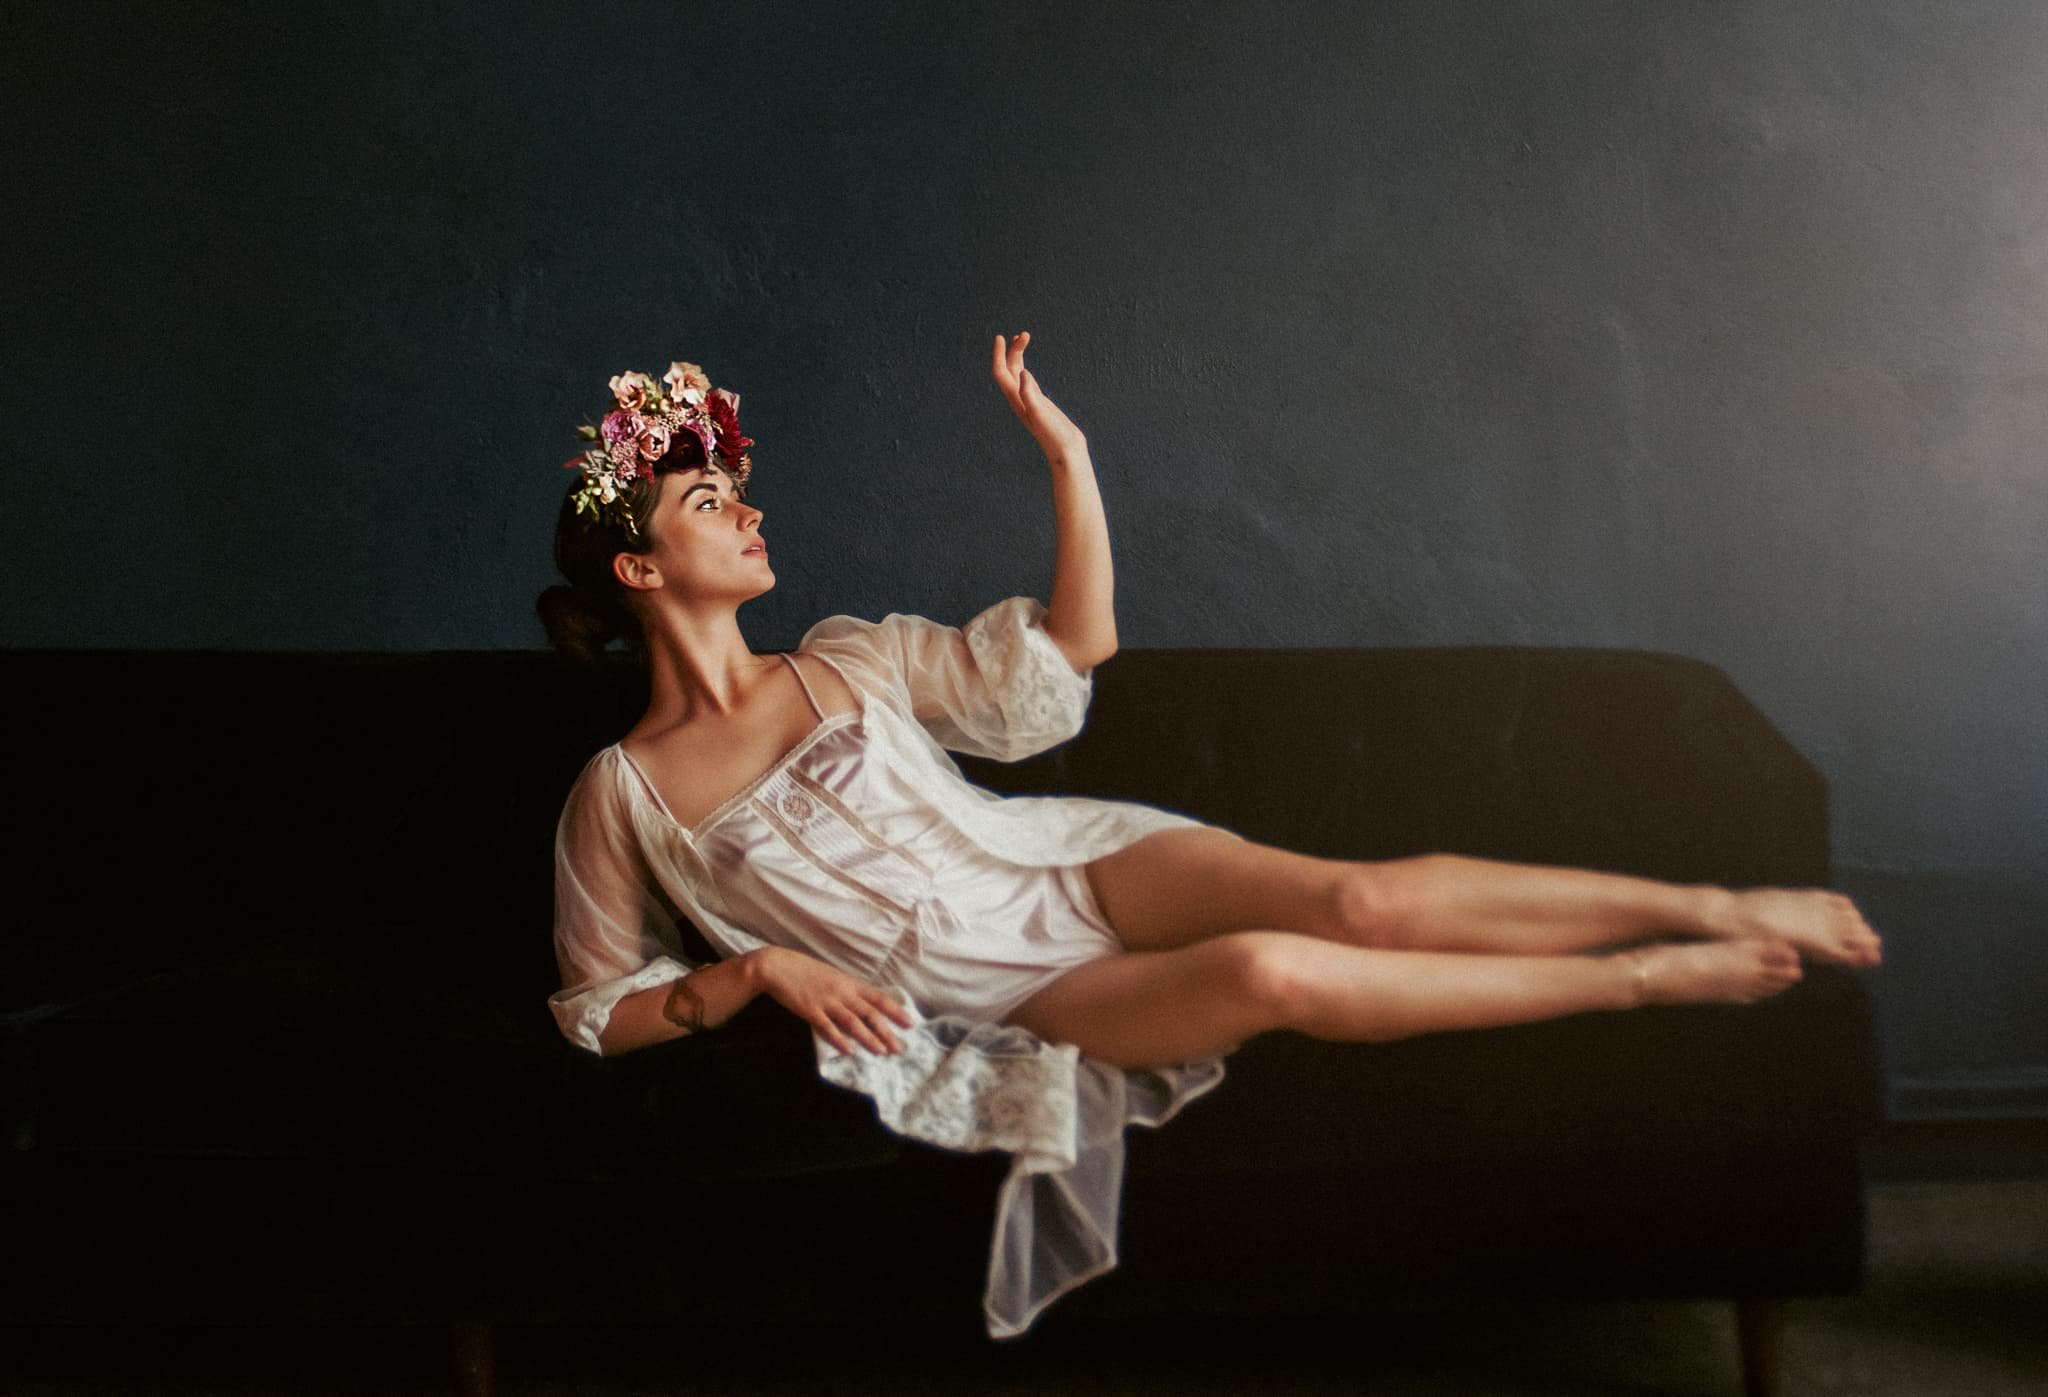
Floral crown designed by Thorne Floral. Model: bellatrixortreat2
Enhance Your Color Palette, Increase Interest, and Elevate Creativity
We're three weeks into Spring, and Midwestern states are bursting with blooms. Cherry, pear, and redbud trees are dripping with color, and the bright, pretty heads of tulips and daffodils are sprouting across the Kansas City area. This new life has me itching to incorporate flowers into my photography to kick off the warm season.
If you feel the floral pull like me, adding blossoms to your photo shoot or self-portrait will increase their color, texture, and impact.
Here are six easy ways to add flowers to portrait photography:
1. The Flower Crown
Floral crown designed by Thorne Floral. Model: bellatrixortreat2
Ah … the royal headdress. Perfect for a portrait with a regal subject. You can go big and bold or super simple, but whichever route you take, flower selection is crucial.
"Use a variety of shapes and textures," said Anne Thorne of Thorne Floral, a Kansas City-based wedding, event, and workshop florist. “Start small, then get bigger towards your focal point, then taper down again.”
"Larger flowers are best tucked down in while delicate flowers can hover above," she said. “Think about how they behave in nature.”
To create the crown, you'll need the following:
Raffia-wrapped floral wire
Floral tape
Floral glue
Greenery or flowers of your choice
Scissors
Instructions:
Measure the floral wire around your head for the proper length. Add three inches. Cut the wire and twist the ends together to form a circle that fits your head.
Choose your flowers and greenery. Some good options include spray roses, baby's breath, yarrow, ranunculus, rosemary, lavender, berries, small poms, strawflower, wax flower, eucalyptus, chrysanthemum blooms, and drumstick flowers. To make a statement with large blossoms, peonies, orchids, anemones, and roses are good choices. But also, feel free to play and get creative.
Cut the stems to about two inches in length.
Tape a piece of floral wire around the stem of your flower or greenery. Twist the wire tightly to secure it in place. Add flowers and foliage to the wire until you have a long garland.
Once you have enough garland, attach it to the wire crown. Place the garland onto the wire circle and use the floral tape to secure it. You can overlap the spray to make it look fuller.
Keep adding garland until the entire wire circle is covered.
Glue in delicate flowers last.
Trim any excess wire or stems once you have added all the flowers and greenery to the wire circle.
If you plan to wait to wear it, refrigerate it immediately.
Pro tip from Anne Thorne: Wrap the crown in wet paper towels and place it in an airtight container in the fridge for a day before using. The flowers take in water through their petals and will last longer.
2. Use Florals Around the Face in Creative Ways
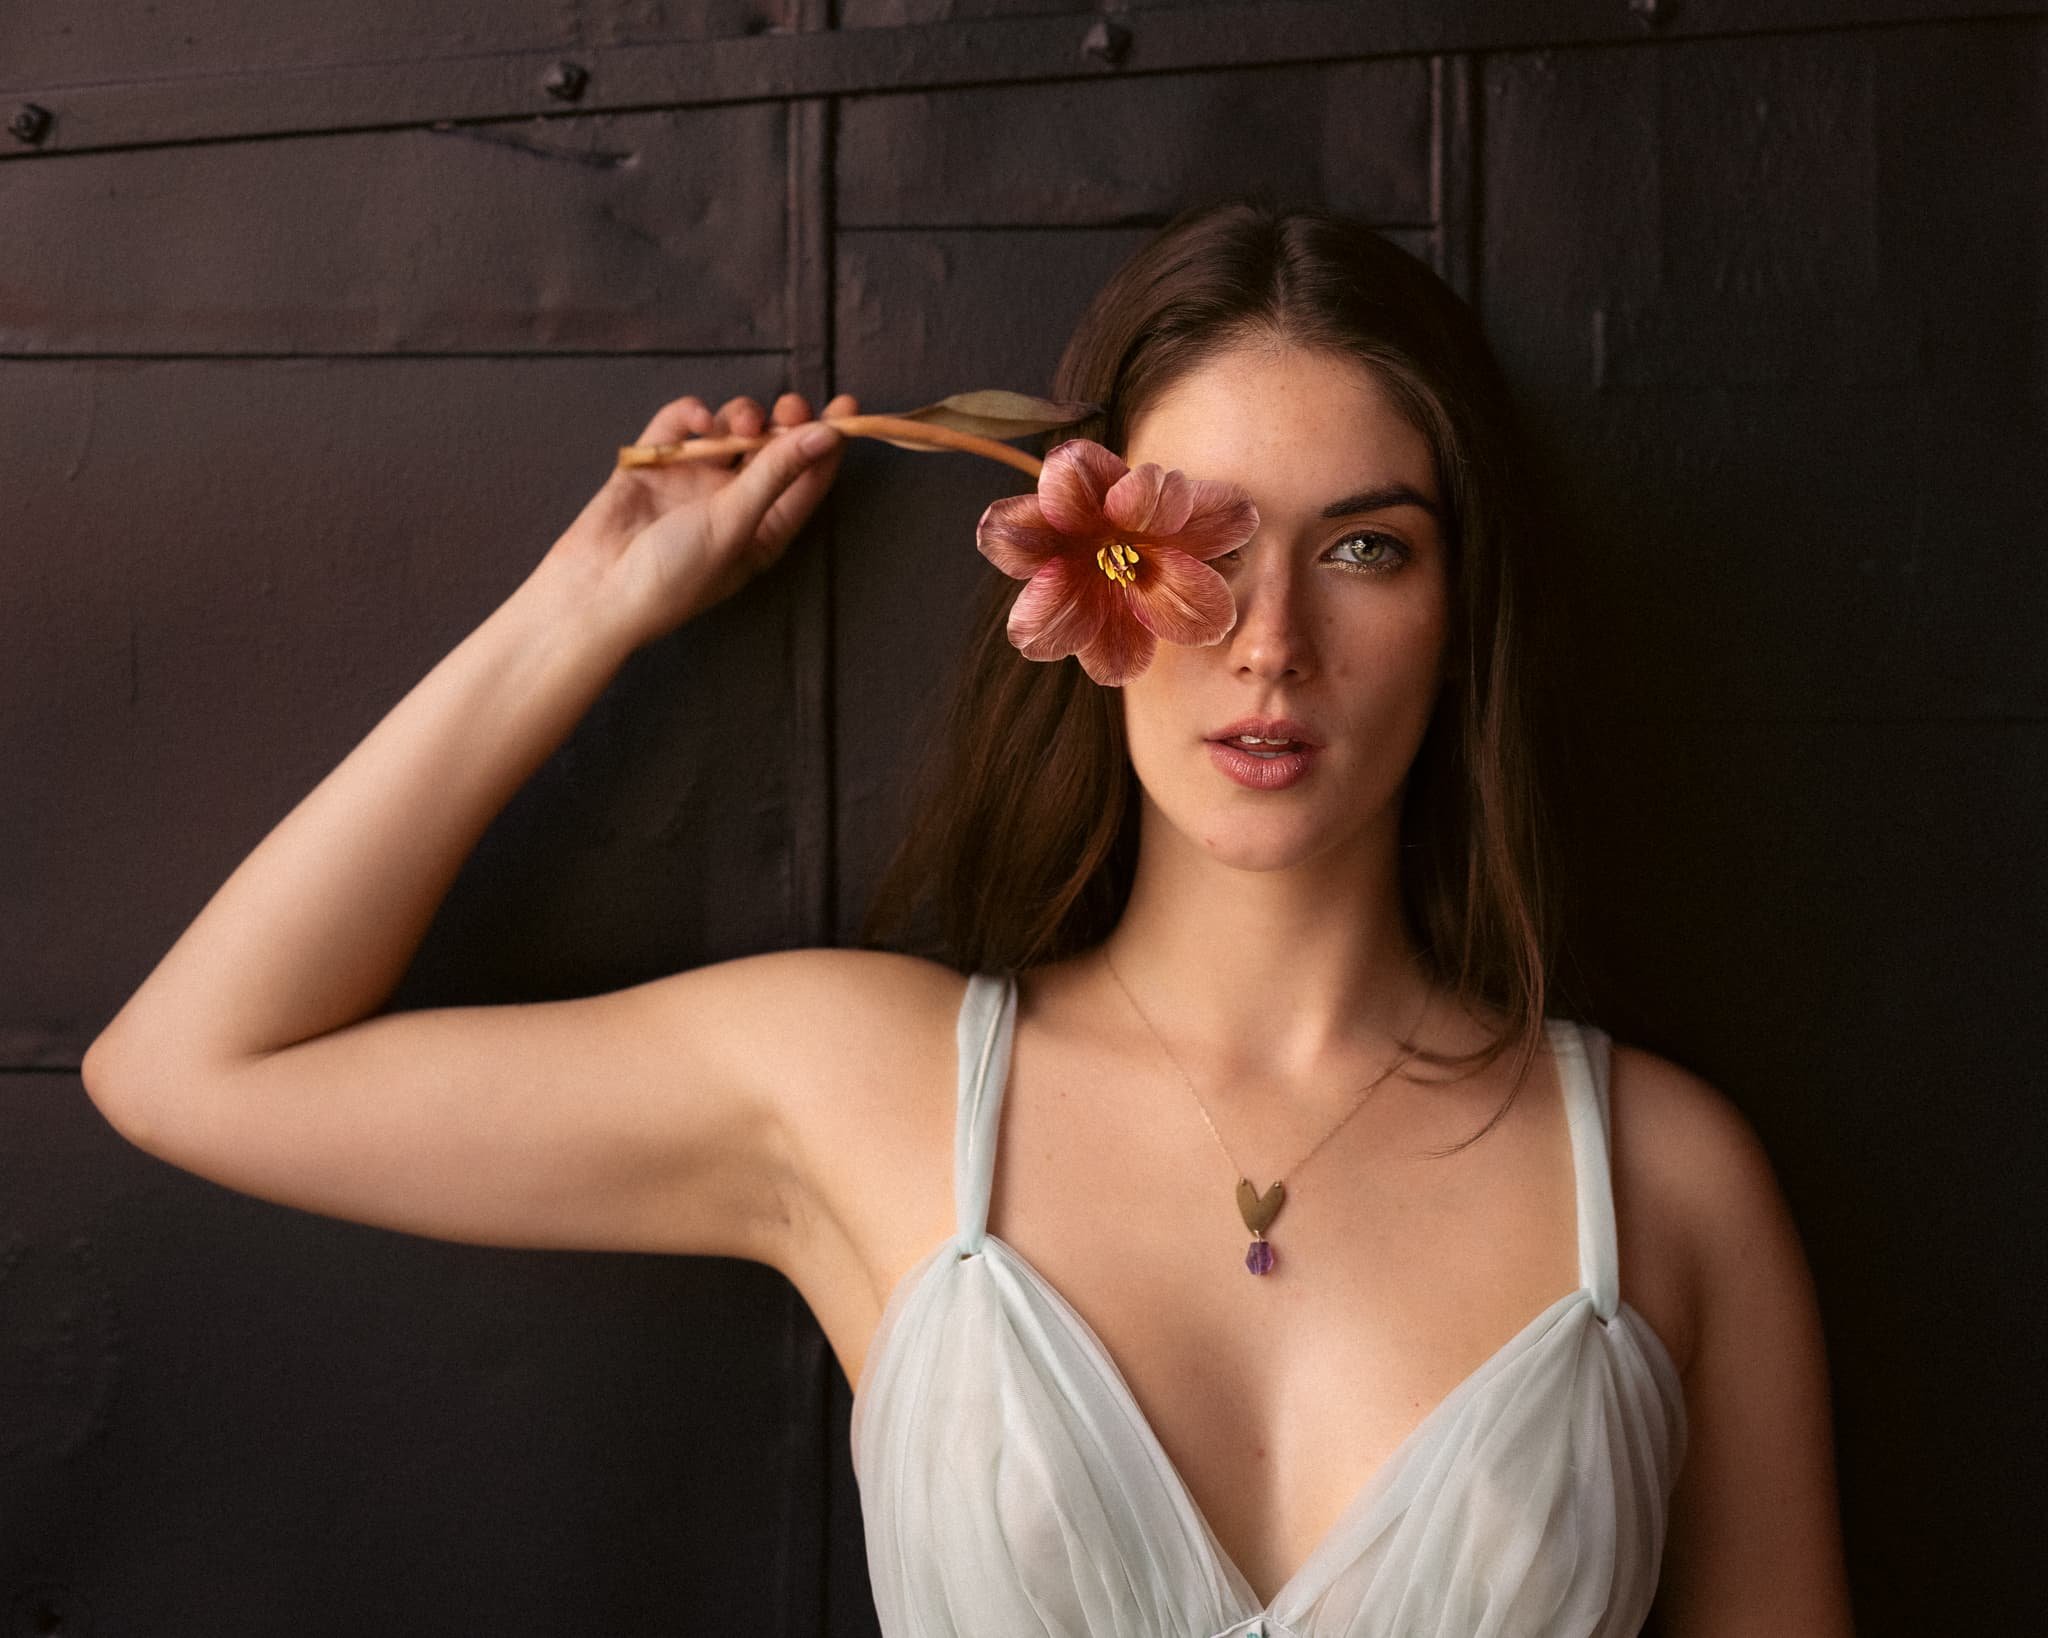
The head is one of the rawest and most exposed areas on the human body, so there’s a certain poeticism when you place a delicate blossom next to your subject’s vulnerable face.
Florals designed by Thorne Floral. Model: bellatrixortreat2
Despite a flower's beauty, the focus must stay on the subject. Typically, the face (or closest eye) should be the focal point.
However, if you use flowers in a creative shoot, all bets are off. In that case, let your imagination guide you.
"If you see something wonderful in your mind, the only one keeping it from happening is you," Thorne said. "It's a good reason to keep experimenting. You can learn new ways to bring your ideas to life."
Thorne is always practicing with different ingredients — like a vine of green tomatoes — and using parts of the flower unexpectedly.
"I'm also experimenting with not limiting myself in my mind before I even begin," she said.
Whether you want to up the ante for a basic portrait or something outside the norm, here are a few ideas to add florals to the face.
Use flowers as earrings. Select small, lightweight flowers or petals and adhere them to the earlobe with Vaseline during the shoot. Vaseline is a short-term solution; you should be prepared to reapply.
If you're using a heavier flower, use floral glue and attach them to clip-on earrings or earring hooks.
Play with headbands. Like a floral crown, headbands are an easy way to secure flowers in your hair. This Instructables post is great for a simple floral headband tutorial.
Accessorize with florals. This can be as simple as putting a flower behind an ear or in their hair or as elaborate as creating intricate patterns with flower petals (or the flowers themselves) on your subject's skin. (Remember the Vaseline trick).
Be bold, think outside the box and get creative!
Floral crowns and tattoos designed by Thorne Floral. Models: @quinn.medicine and @bellatrixortreat2
Use Flowers to Create Depth in Portraits
Creating a three-dimensional experience in a two-dimensional image can be challenging for some photographers. However, when done correctly, it can bring a viewer into the image — and flowers can help!
Let's say; for example, you use florals at three spots in your composition: close to the camera, close to the subject, and behind the subject. Use a shallow depth of field, and you'll create beautiful blurs of color in the foreground and background but sharp focus on the florals close to the subject.
You might only be shooting in a space a few feet deep, but the varying focal range adds incredible depth to your photo.
The total depth here was less than two feet.
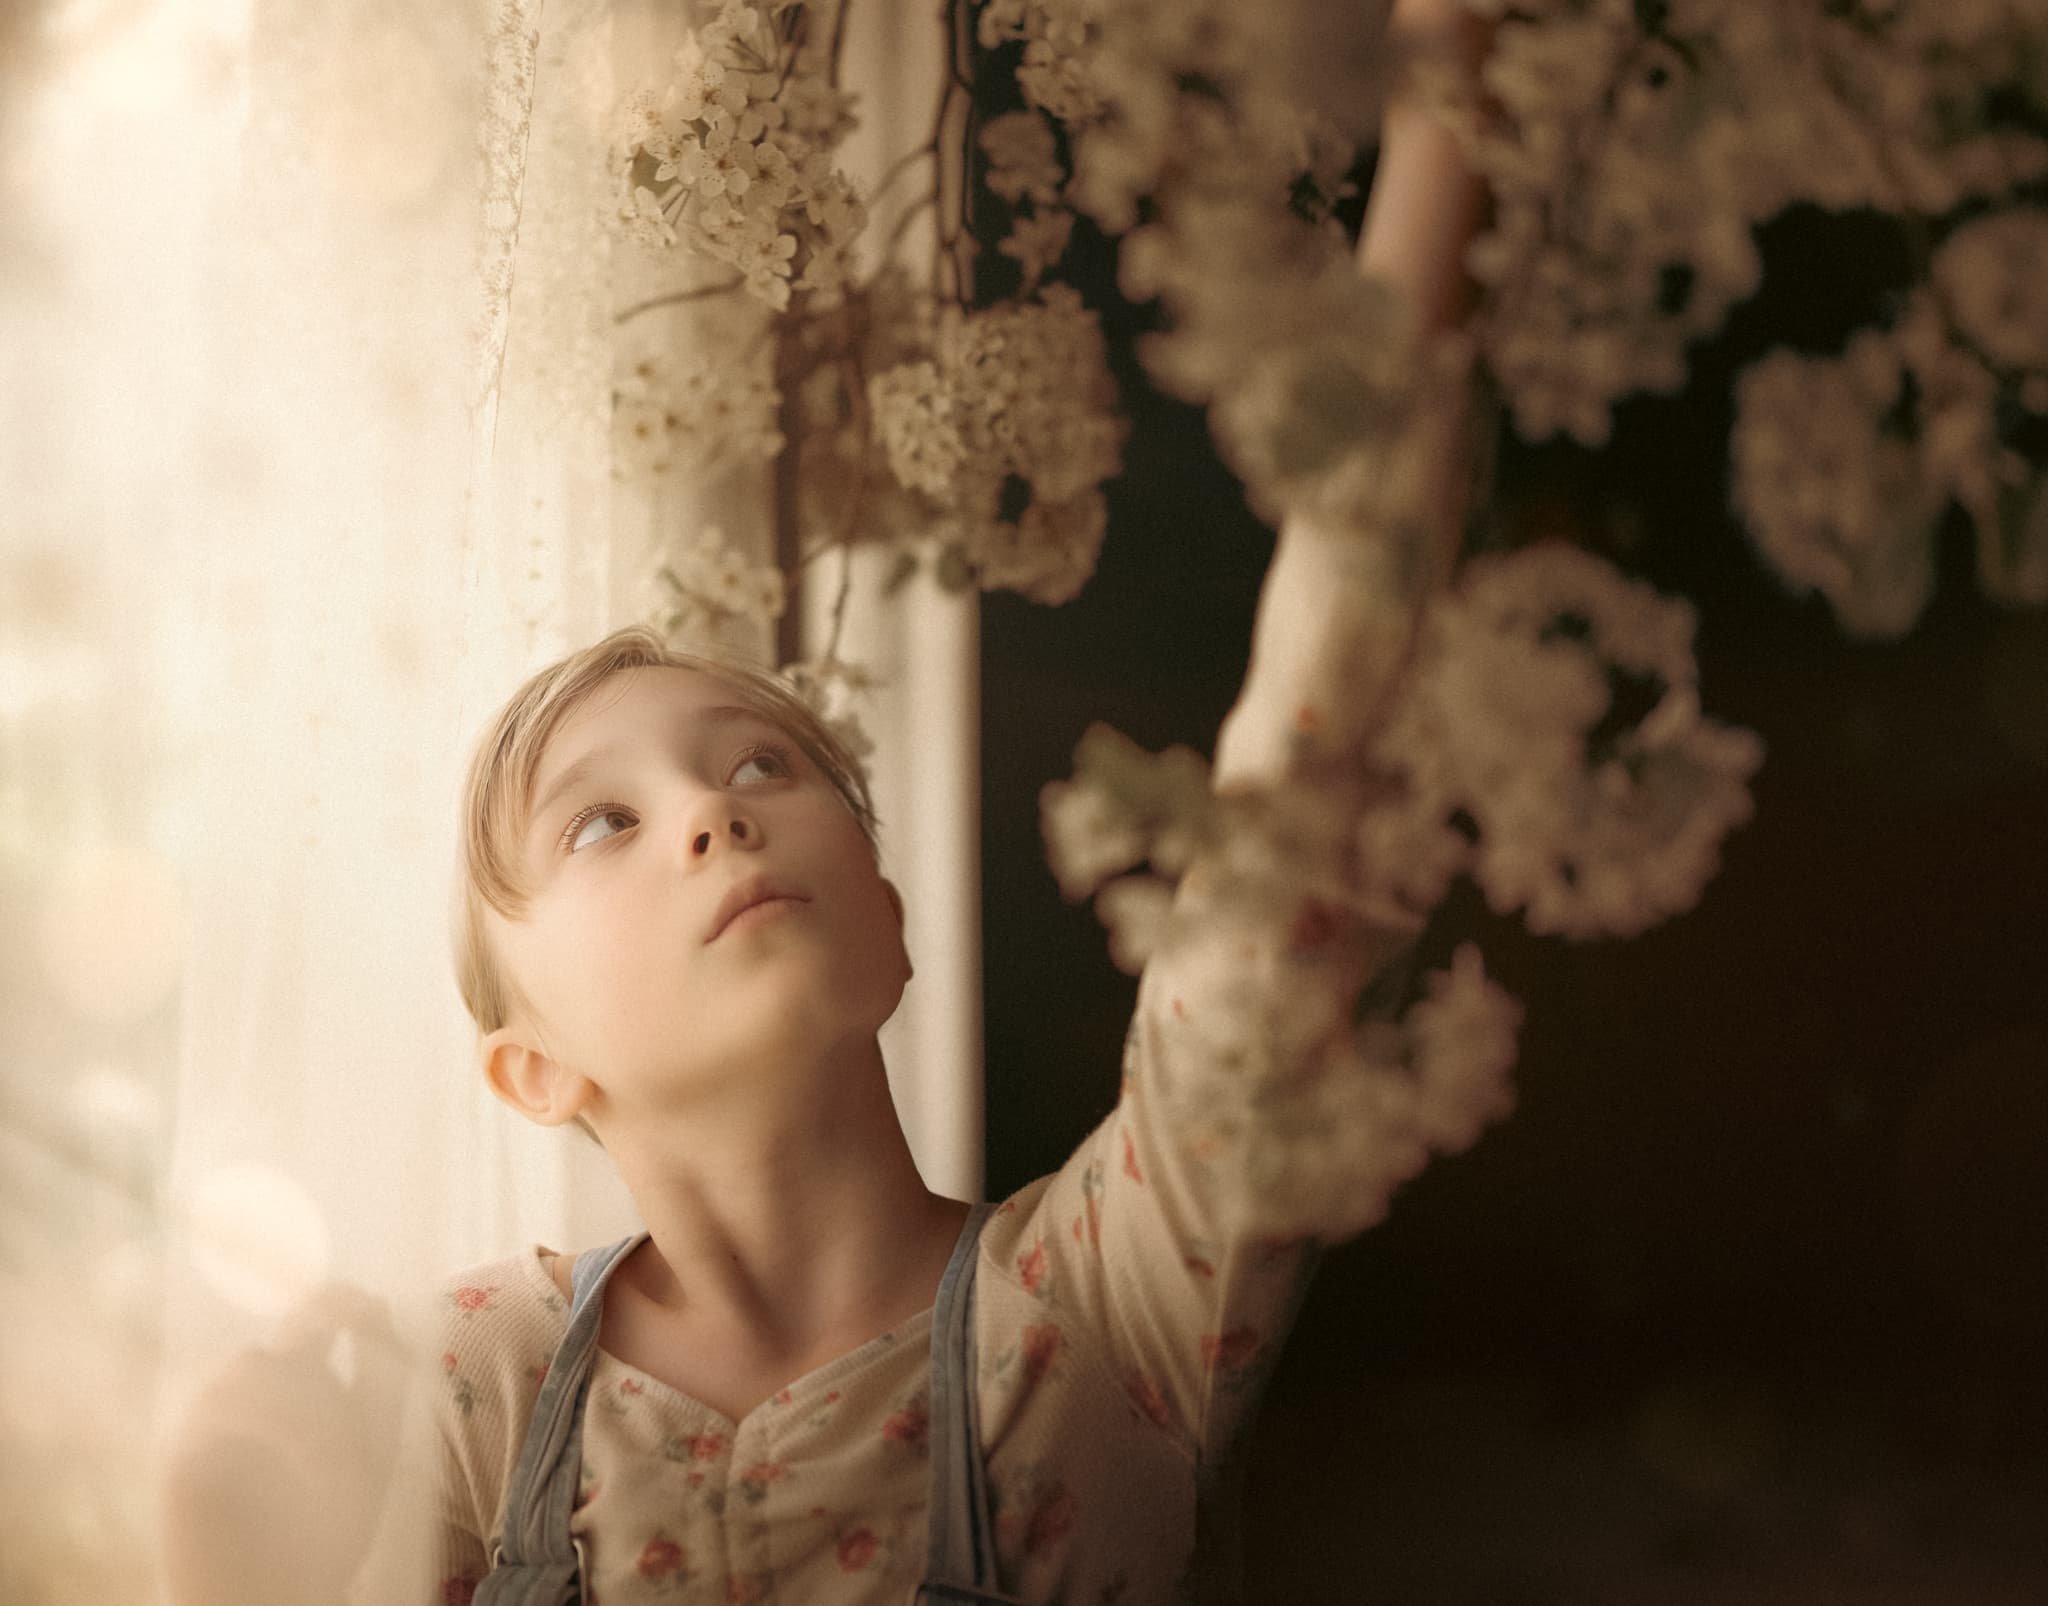
Hang Flowers from Above
You can go the easy route and use some clear fishing lines and some push pins to suspend your flowers, but if you plan to dangle any more than 10 blooms, I recommend you use this tutorial from Sugar & Cloth. It's more labor-intensive, but the result is spectacular.
Consider the space of your photo shoot. Is it large? Small? The flowers you choose need to work with (not against) the studio size.
Select flowers with different stem lengths and hang them at various heights to create a varied look.
You can use a neutral or plain background so your subject and florals pop.
I recently shot in a space with a 10-foot ceiling. Instead of securing the flowers from the top, I used a bar already part of the space. But you can also use a backdrop stand if your ceiling is high or you want the flowers to hang lower.
Toss Them in the Air
Do you want to combine a bit of movement with your floral accents? Grab an assistant. You'll need an extra set of hands.
Throw flowers toward the camera (gently, of course). But feel free to play with a different angle (for both the flowers and the camera).
Toss the florals in the air. Kind of like, "It's raining men," only flowers.
Let the flower petals drop from above. If you're going for a graceful look, remove the petals, and ask your assistant to drop them delicately.
Plan the backdrop so the flowers will show up. While a monotone aesthetic can look modern, white petals on a white background might be hard to see. Make sure you think about the color of the environment with the flowers.
Set focus on your subject and fire off a bunch of shots while the florals are flying.
Shoot Through Flowers and Frame Subject
Florals designed by Thorne Floral. Model: bellatrixortreat2
Using foliage to shoot through not only adds depth to the image but it gives the photograph an air of mystery – almost like the viewer is catching the subject in a private moment. When you plan your shot's composition, consider how the flowers frame your subject.
Make a Floral Backdrop
I love a flower wall, but to be completely honest, I've never created one. It's always seemed a bit cost prohibitive (it takes a lot of flowers). Its beauty is undeniable, however, so if you've got the budget, do it. It is another way to increase the flower power and create a wow factor for your shoot.
If you must have a flower wall but can't afford natural blooms, Ara U Designs walks you through the assembly process using artificial flowers and flower tiles.
For those of us with even tighter purse strings, I love using a simple backdrop while shooting and overlaying a floral image in post-processing. It's relatively simple, cost-effective, and gorgeous.
3. Create Photo-worthy Color Palettes with Styling & Florals
I've said this in my blogs before, but it's super important, and it's a rule I use whenever I'm trying to come up with a color palette for a photo shoot: look to nature.
If it occurs naturally, it will work for any photo.
Florals designed by Thorne Floral. Model: bellatrixortreat2
Consider the season you plan to hold your session and select three to four main colors during that season. You can incorporate neutrals like ivory, white, and tan and tints and shades of the three colors you selected initially. I go into much more detail in Styling Yourself with Color in Mind.
Remember to consider your subject's skin tone when selecting color palettes. Missy Titus of Simplified Wardrobe penned a helpful how-to guide that goes into skin tone, undertones, chroma, and contrast and how it relates to a wardrobe.
But since we're also styling with florals, we must also consider them. Luckily, Thorne Florals has some suggestions:
"I've always been drawn to warm palettes and unique foliage, but I'd have to say my favorite combinations are the clear, soft, unclouded colors paired with earthier, muddy ones," Thorne said. "I feel like using only higher chroma colors feels flat, like drumming on a rock with a stick, but putting the two together is like the full band. Alone the soft, clear tones would seem too sweet, but with muted flowers in the mix, it makes your palette so much more dynamic and interesting."
4. Play with Artificial Flowers
I love the intoxicating perfumes and fleeting beauty of natural blooms, but fake flowers also have a place in photos.
More bang for your buck. If you properly care for artificial flowers, they have a long shelf life. Meaning you can reuse them shoot after shoot. Craft stores frequently have sales on these items, so you can grab them and stock up for later.
They last a long time. I mentioned this above, but I wanted to give a specific example. Last month, I shot a session to advertise an upcoming event for my business. I planned to have floral arrangements as part of the shoot, so the ad images needed to have the same flowers so people would know what to expect when they book a session. There was a two-and-a-half-month gap between the shoots. Since a natural flower arrangement would only last for a short time, I opted for silk flowers.
Some people have flower allergies. Watery eyes and a runny nose aren't what clients want. If your client has allergies, have a chat with them. Artificial flowers might be the best option for them.
6. Use a Basic Bouquet in Your Portrait
Consider the mood you want to evoke. Before selecting a bouquet from your local florist, consider what part you want your flowers to play in your photograph. Do you want them to be cheerful? Romantic? Or do you want something droopy and a bit sad? The blossoms you select will help steer the mood of the image.
Use it as a prop in creative ways:
Florals designed by Thorne Floral. Model: @quinn.medicine
Hold in front at the waist.
Hold it in front of your face.
Turn away from the camera and hold the bouquet on your shoulders.
While standing, hold the bouquet down around your knees.
Stuff the bouquet in your pants so flowers stick out from the waist.
Smell bouquet.
Put bouquet at feet.
Hold the bouquet and cover one eye.
Toss bouquet.
Stuff the bouquet in your shirt so flowers stick out from the neckline.
You get the idea. There are a lot of options.
Pick an arrangement that adds texture and color. Flowers should always add to an image – not take it away. Think about enhancing the texture and tones with the florals that you choose.
Focus on the flowers. Earlier in this article, I mentioned that the subject should be the focus of the image. And in most cases, I stand by that statement. However, if your subject wants something a bit more creative (or you're on a creative shoot), have your client take a back seat to your florals.
Hold a single flower. Even one blossom makes an impact.
There are many ways to bring flowers into the studio for a photo shoot, but don’t skip just going outside and enjoying nature’s beauty. It’s well worth it.
“Flowers don’t worry about how they’re going to bloom. They just open up and turn toward the light and that makes them beautiful.”
Liz Davenport of Sunshine and Shadows Photography is a professional portrait photographer based in Kansas City, MO. She offers portrait and personal branding sessions throughout the Kansas City-metro, including Leawood, Overland Park, Shawnee, Lenexa, Mission, Belton, and Raymore. Her sessions are fun and relaxed, using primarily natural light and a lot of movement.
Anne Thorne of Thorne Floral is accepting clients for 2023. Visit thornefloral.com if you’re looking for a wedding florist.


